
A handmade Christmas
Crochet Christmas Star: Free Pattern in UK Terms
One little centre. Five tapered points. An ivory cotton decoration for the tree, a thoughtful gift or a quiet afternoon with your hook.
Go to the free pattern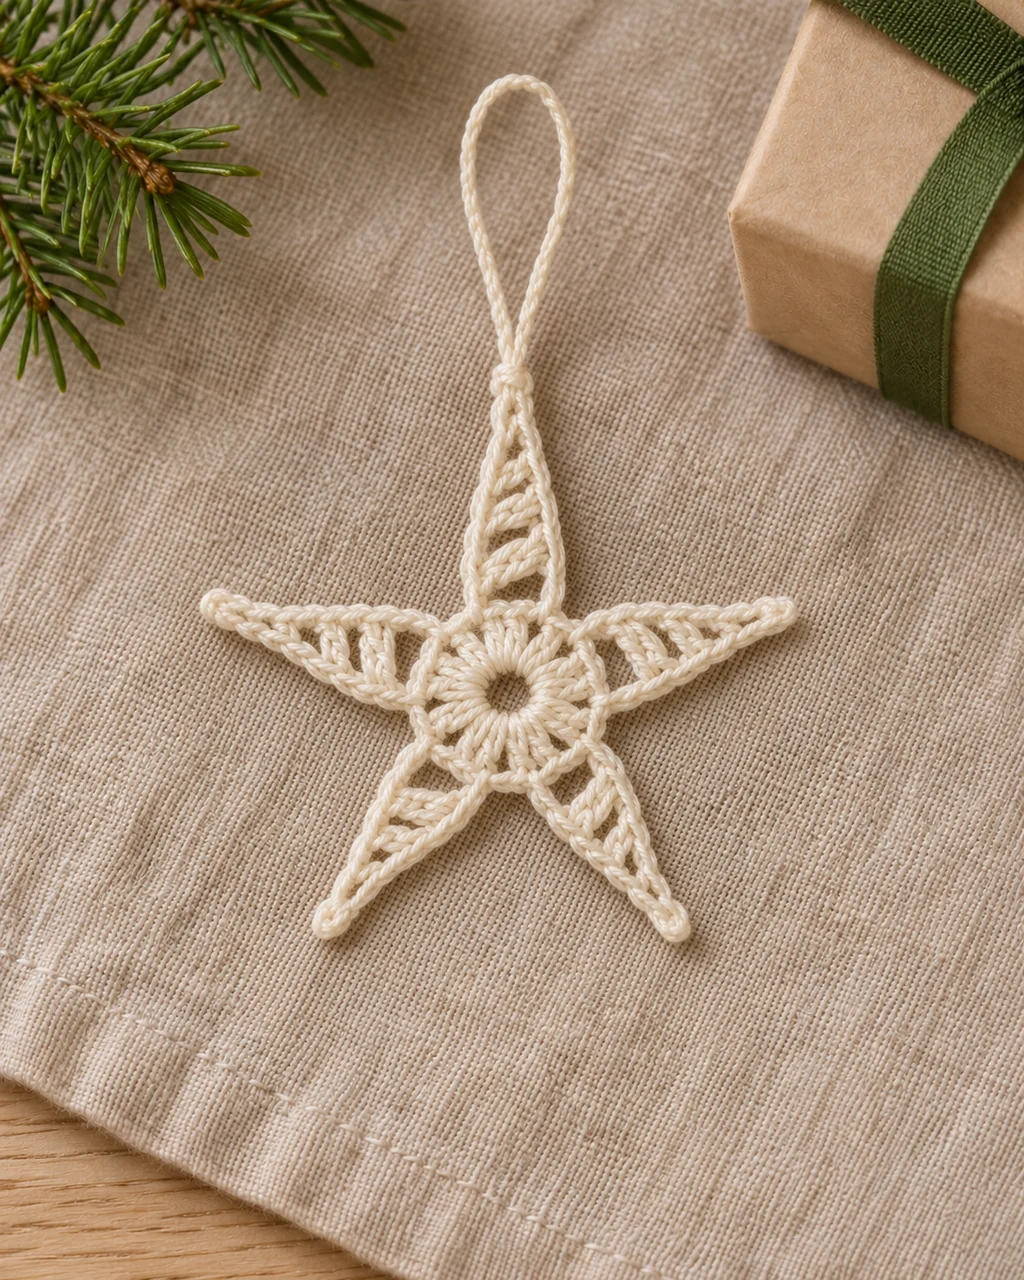
- Skill level
- Confident beginner
- Construction
- 1 centre + 5 points
- Pattern language
- UK crochet terms
- Finishing
- No sewing-up
The quick answer
Work ten UK double crochets into a small ring. For each point, chain six and work back with ss, dc, htr, tr and dtr. Miss one centre stitch and slip stitch into the next. Repeat for five points, weave in the tails and add a separate hanging loop.
01 / On the table
Gather your yarn and tools
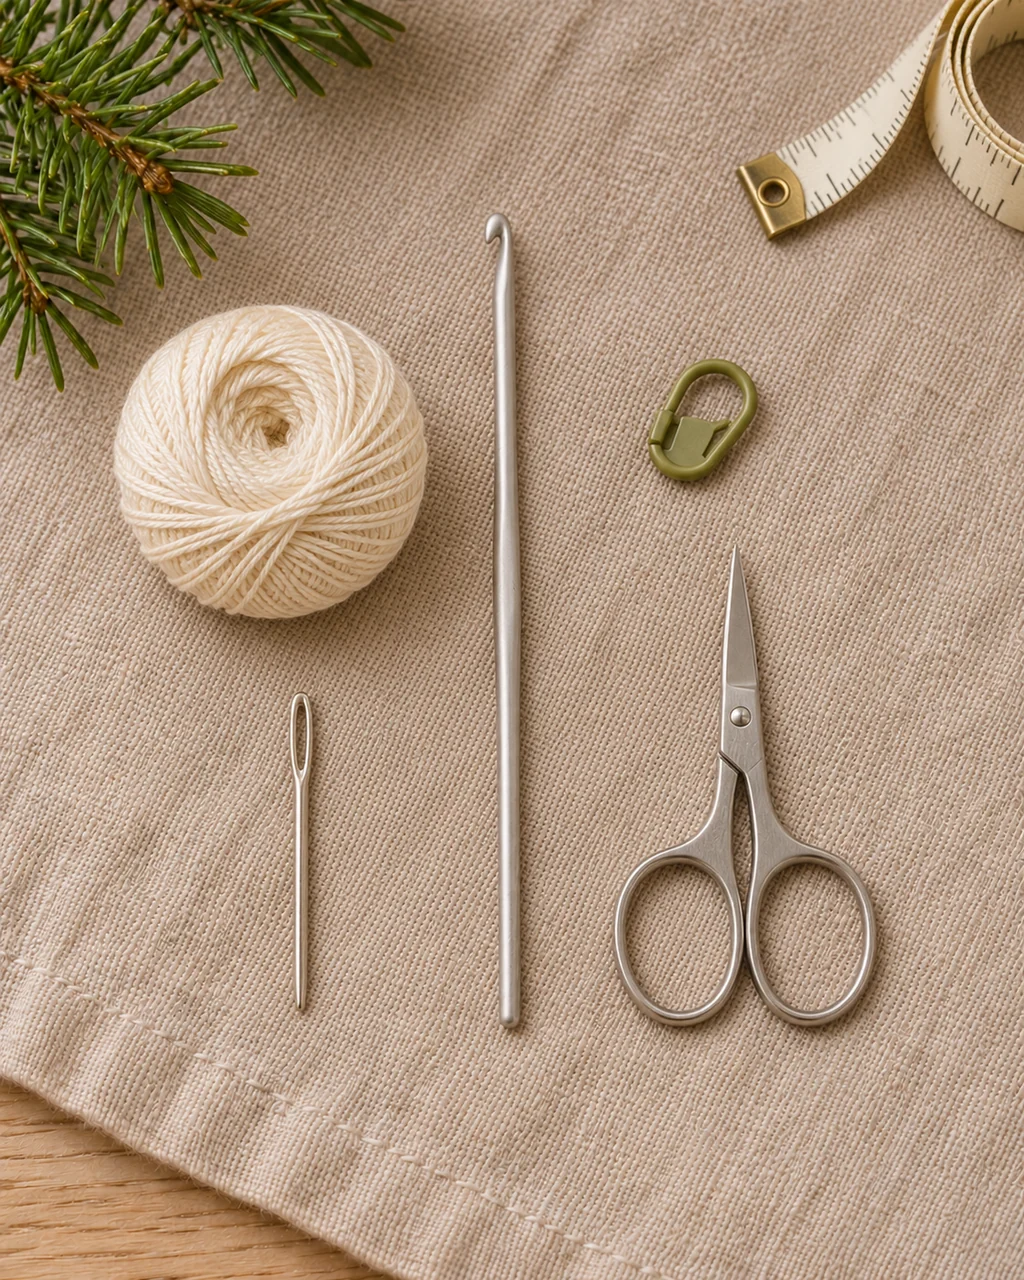
- Smooth cotton yarn in ivory: choose an even, lightly twisted yarn so the stitches remain easy to distinguish.
- A suitable crochet hook: 3 mm is an example starting point only when it suits your yarn band and the fabric you want.
- A removable stitch marker, a blunt tapestry needle and small scissors.
- A separate length of matching yarn for the hanging loop.
- A towel and, if needed, rustproof pins for gentle shaping.
Use one yarn throughout the star. A fuzzy or very dark yarn makes it harder to find the chain stitches on the return journey. If you are using leftovers, set aside a continuous length for your first sample rather than joining new yarn in the middle of a point.
No measured yarn quantity or finished size is claimed for this adaptation. Weigh your yarn before and after a completed star, including the hanging loop, to establish a useful reference for a matching set.
02 / Read this first
The stitches: UK terms throughout
UK double crochet is US single crochet. If you follow a US demonstration, use the comparison column below. In the actual instructions, every stitch name refers to the UK column.
| UK abbreviation | UK stitch | US equivalent |
|---|---|---|
| ch | Chain | Chain |
| ss | Slip stitch | Slip stitch (sl st) |
| dc | Double crochet | Single crochet (sc) |
| htr | Half treble crochet | Half double crochet (hdc) |
| tr | Treble crochet | Double crochet (dc) |
| dtr | Double treble crochet | Treble crochet (tr) |
For dc, insert the hook, yarn over and draw up a loop; yarn over and draw through both loops. For htr, yarn over before inserting the hook, draw up a loop, then draw through all three loops together. A tr begins with one yarn over and finishes in two pull-throughs of two loops.
For dtr, yarn over twice before inserting the hook. Draw up a loop, then yarn over and draw through two loops three times. Keep the working loop comfortable rather than pulling it tight between these movements. An ss draws the yarn through the target stitch and the loop already on the hook.
Check the King Cole UK–US terminology chart if you regularly switch between pattern systems.
03 / Before the first stitch
How this little star is built
The star has one closed centre round and five points. Each point starts with a chain of six, then returns towards the centre with five stitches that become progressively taller. A joining slip stitch anchors the point to the centre. You keep the same side facing you; do not turn the whole motif after each point.
The foundation ring is made with four chains. A magic ring may replace it if you already know that method, but the centre must still contain ten dc. The preparation chain and joining slip stitch never count as extra centre stitches.
Studio note: the stitch counts and joining sequence have been checked on paper. This UK adaptation has not been physically test-crocheted, so finished size, yarn use and drape need checking with your own sample. AI-generated illustrations show the idea and stages; use the written instructions for exact stitch placement.
There is no fixed tension target for a decoration without a required size. Aim for a consistent fabric that holds the points without making the hook difficult to insert. Measure your first finished, dry star from tip to tip before making a set.
04 / The free pattern
Make the centre, then the five points
Step 01Close the foundation ring
Leave a tail long enough to weave in later. Make 4 ch, then ss into the first ch to form a small ring. Make 1 ch to prepare for the centre round. This preparation chain does not count as a stitch.
Step 02Work ten dc into the ring
Work 10 dc around the ring, inserting the hook into its central opening rather than working one stitch into each foundation chain. Mark the first dc. Join with an ss under both top loops of that first dc.
Call the marked stitch C1, then identify C2 to C10 around the centre in your direction of work. The active loop is now at C1. Leave the marker in C1 for the final join. The joining ss is not C11.
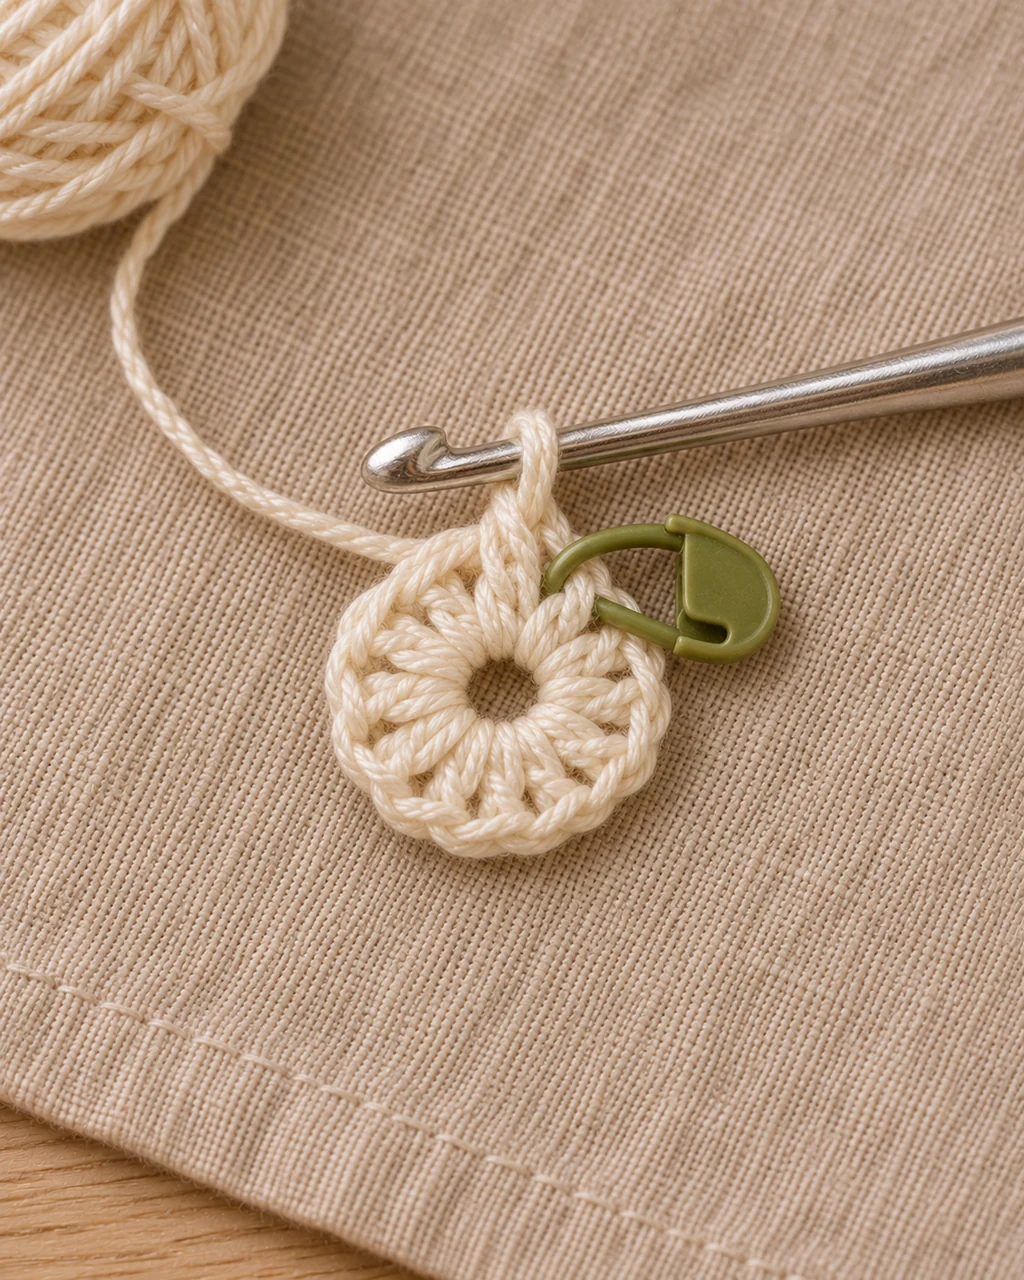
Build the first tapered point
From C1, make 6 ch. Do not count the loop on your hook as a chain. Starting in the second ch from the hook, work back towards the centre:
- 1 ss into the second ch from the hook.
- 1 dc into the next ch.
- 1 htr into the next ch.
- 1 tr into the next ch.
- 1 dtr into the final ch, nearest the centre.
You have used five chain positions and left one chain at the tip. Work into one chain loop or the back bump consistently along all five points; do not put all five stitches into the same chain.
| Chain counted from hook | Work into this chain |
|---|---|
| 1 | Miss: this remains at the tip |
| 2 | 1 ss |
| 3 | 1 dc |
| 4 | 1 htr |
| 5 | 1 tr |
| 6 | 1 dtr; this is nearest the centre |
Return your attention to the centre ring. Miss C2 and ss into C3, under both of its top loops. This joining ss anchors the point. It goes into the centre, not into the chain you have just worked back along.
Step 04Repeat until there are five points
From C3, make the same chain-six point and return along it with ss, dc, htr, tr and dtr. Miss C4 and join into C5. Continue using the table below. After the fifth point, the final joining ss returns to the marked C1; do not add a sixth point.
| Point | Start at | Miss | Join with ss into |
|---|---|---|---|
| 1 | C1 | C2 | C3 |
| 2 | C3 | C4 | C5 |
| 3 | C5 | C6 | C7 |
| 4 | C7 | C8 | C9 |
| 5 | C9 | C10 | C1 |
Five points use five missed centre stitches and five joining positions. Each point has six starting chains and five return stitches. Joining slip stitches remain separate from the ten dc of the centre.
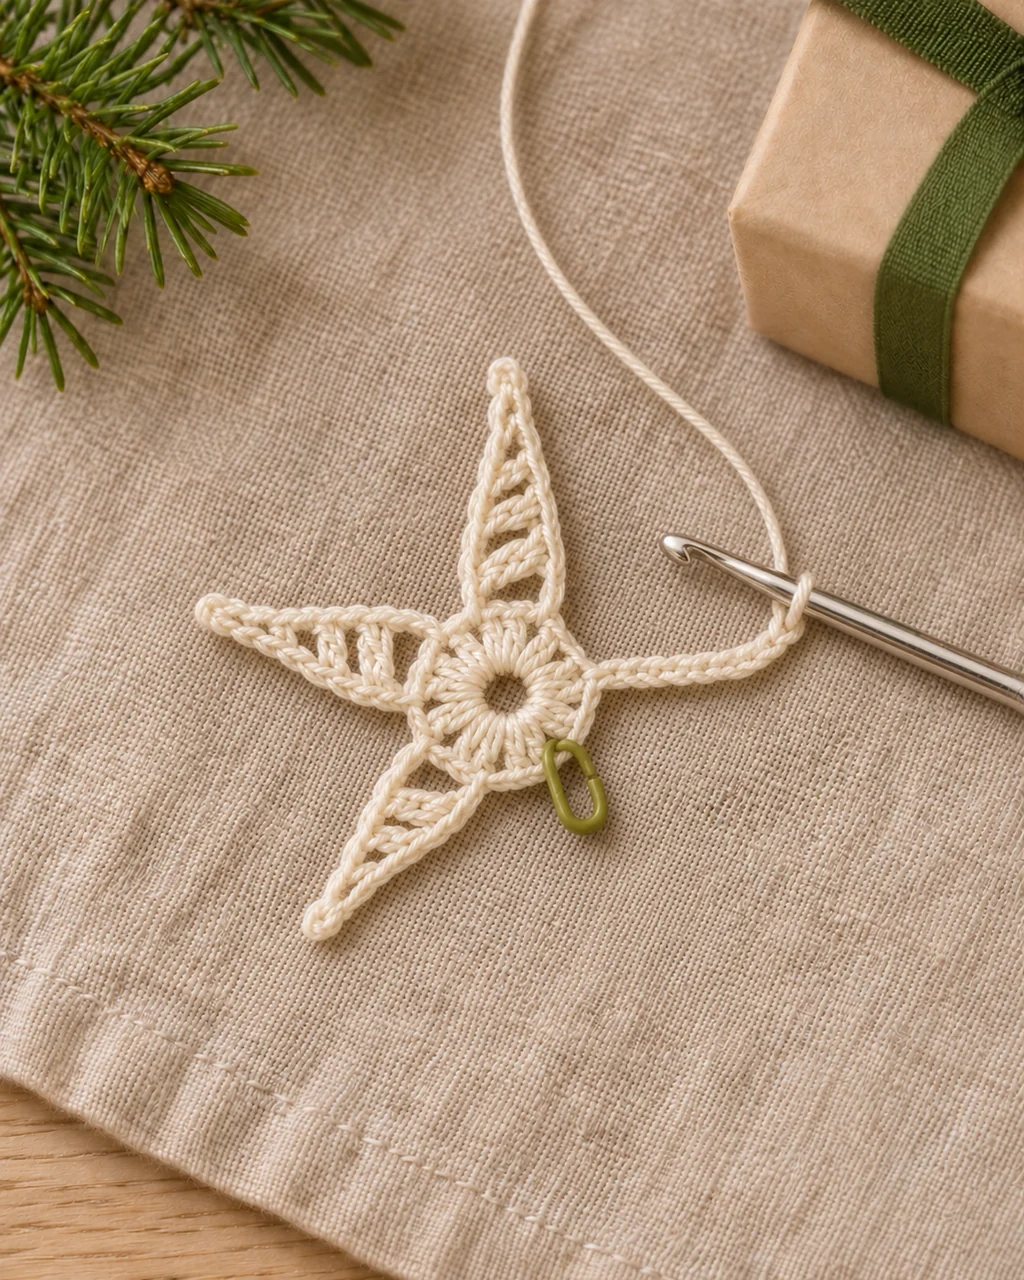
05 / The last little details
Weave in, shape and add the loop
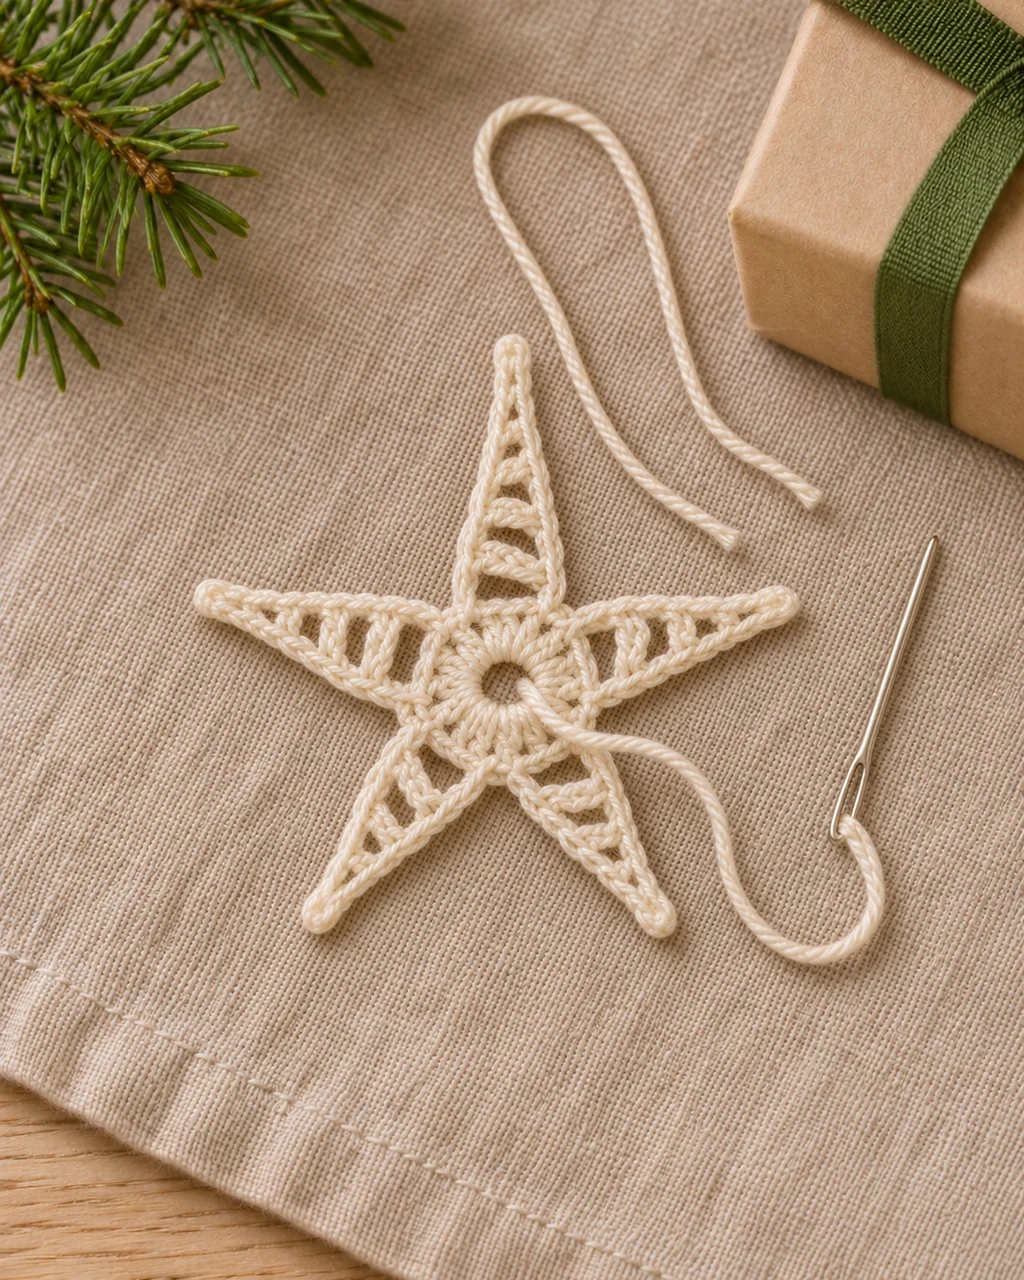
After joining the fifth point into C1, cut the yarn with enough length for weaving in. Pull the tail through the active loop. With the tapestry needle, weave it through the backs of several centre stitches, changing direction to help it stay secure. Finish the foundation tail in the same way without gathering the centre.
Lay the star flat. If the points need gentle shaping, follow the yarn’s care instructions: lightly dampen where suitable, blot with a towel, arrange all five tips and let the motif dry completely. Do not pull one point much further than the others or use strong heat on an unfamiliar fibre.
Thread a separate strand through a firm stitch close to one tip. Adjust the loop to suit your branch or gift ribbon, then tie and secure the ends at the back. Check the attachment with a gentle pull. Keep the loop separate from the five-point stitch count.
06 / A small correction
If a detail does not look right
There is room for a sixth point.
Recount the centre and check that it contains ten dc only. The preparation chain and first joining ss must stay outside that count. Compare the joins with the C1–C10 table.
A point looks short or blunt.
Check for six starting chains and the full return: ss, dc, htr, tr, dtr. Missing the final dtr changes the base of the point.
The points twist.
Check that the chains were not twisted before you worked back along them. Make the starting chain evenly and avoid tightening the joining ss sharply.
The centre puckers.
First check the ten dc and five joins. Then look at your tension: a very tight join or a pulled foundation tail can gather the ring. Rework the affected area before shaping.
07 / Make it your own
Three ways to use your Christmas star
A quiet colour story for the tree
Keep the same cotton and hook and make a small group in ivory, sage and muted gold. Finish one reference star before preparing a batch, so you can compare the size and the look of the points.
A reusable detail for a gift
Pass the gift ribbon through the separate hanging loop. The star can be removed after unwrapping and saved for another Christmas. Keep the crochet away from adhesive tape so the fibres stay tidy.
A little garland
Hang several stars from an independent cord, spacing them without stretching the motifs. Separate loops let you remove and store each star flat. For more ideas as the collection grows, visit Crochet for the Home.
Follow the yarn band for cleaning. Let the stars dry fully before storing them between clean layers of tissue or fabric. This project is a hanging decoration; keep long loops and small craft materials away from young children.
08 / Your questions
A few helpful answers
Does this pattern use UK or US terms?
It uses UK terms throughout. UK dc is US sc, UK htr is US hdc, UK tr is US dc and UK dtr is US tr. The comparison table is a reading aid; the pattern instructions stay in UK terms.
Do I need a magic ring?
No. The written start uses four chains joined into a ring. You can use a magic ring if you are comfortable with it, keeping the centre total at ten dc.
Why are there ten centre stitches for five points?
Each point advances across two centre positions: miss one centre stitch and join into the next. The five joins are C3, C5, C7, C9 and C1.
Is this suitable for my very first crochet project?
It is better for a confident beginner who can recognise basic stitches. Practise the ss, dc, htr, tr and dtr on a spare chain before starting the star.
Can I make a larger star?
Try a thicker yarn with its suitable hook and check the fabric on a sample. Simply adding chains to each point requires a new return-stitch sequence and will change the proportions.
How much yarn and time will I need?
These have not been measured on a physical sample of this adaptation. Weigh your first completed star and record your own working time if you want to plan a matching set.
09 / Keep this beside your hook
The pattern in a few lines
- Start: 4 ch, ss into first ch. Make 1 preparation ch; it does not count.
- Centre: 10 dc into the ring. Mark the first dc and join to it with ss.
- Point: 6 ch. From second ch: ss, dc, htr, tr, dtr, one stitch per chain.
- Anchor: miss one centre stitch and ss into the next.
- Repeat: five points in total, joining into C3, C5, C7, C9 and C1.
- Finish: fasten off, weave in tails, shape and add a separate hanging loop.
Technique references
For a closer look at the stitches
The motif is adapted from a Ruzvo studio pattern. These independent references explain terminology and basic stitches; they are not the source of the finished star instructions.